
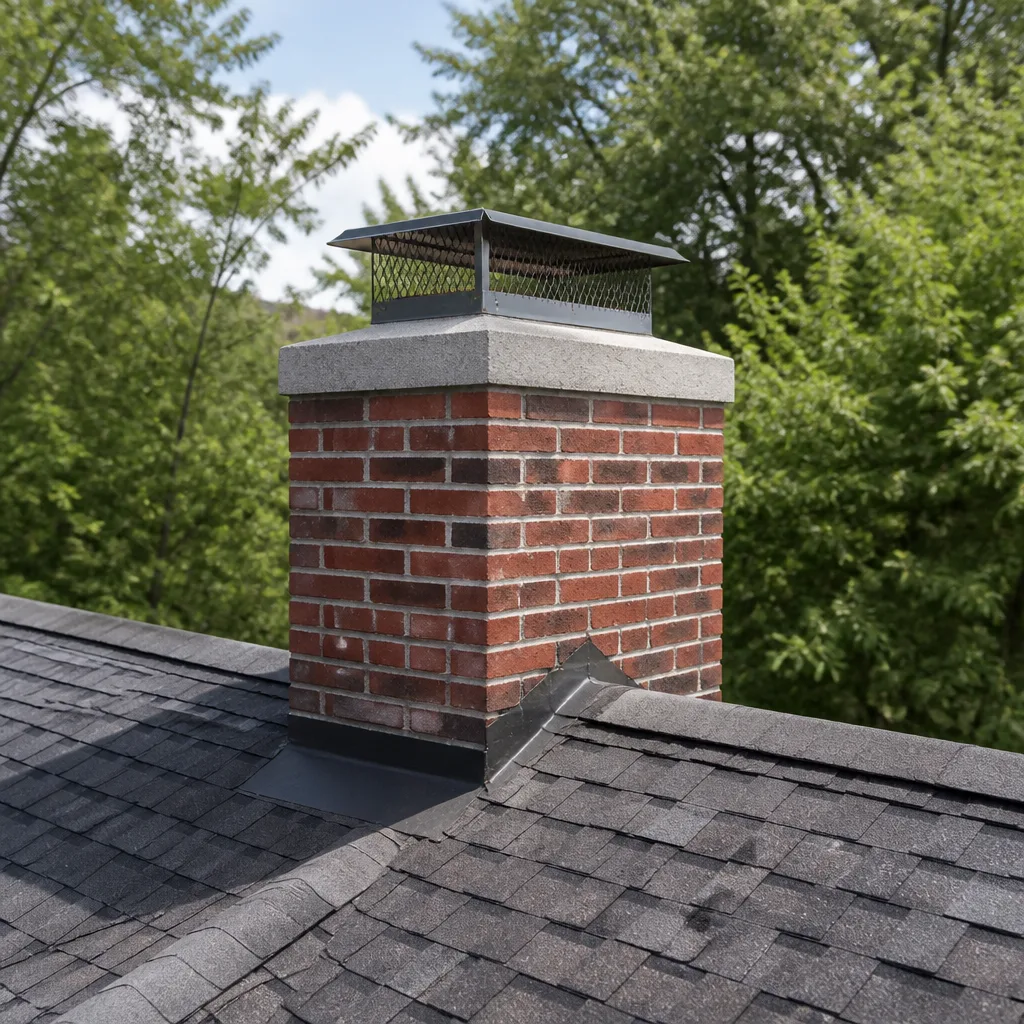
 Sweep & inspection
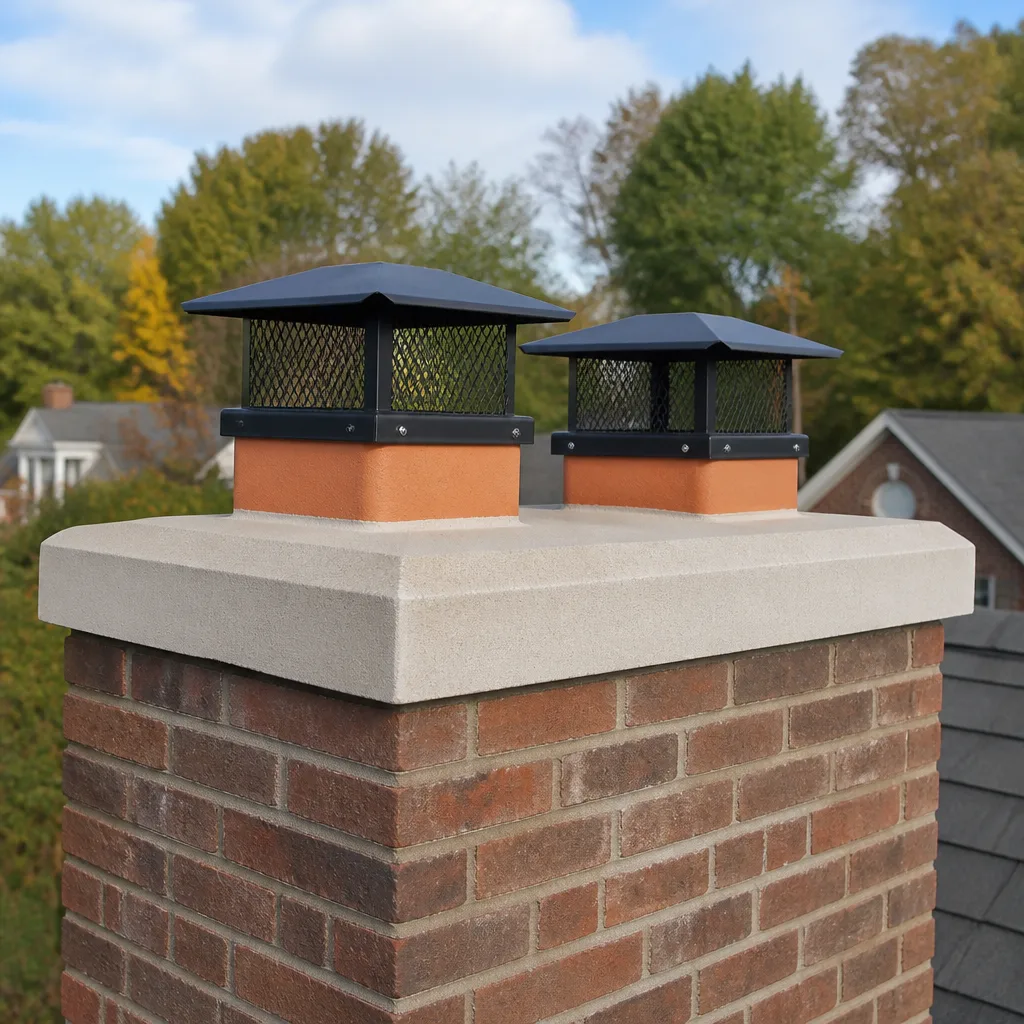 Caps & crowns
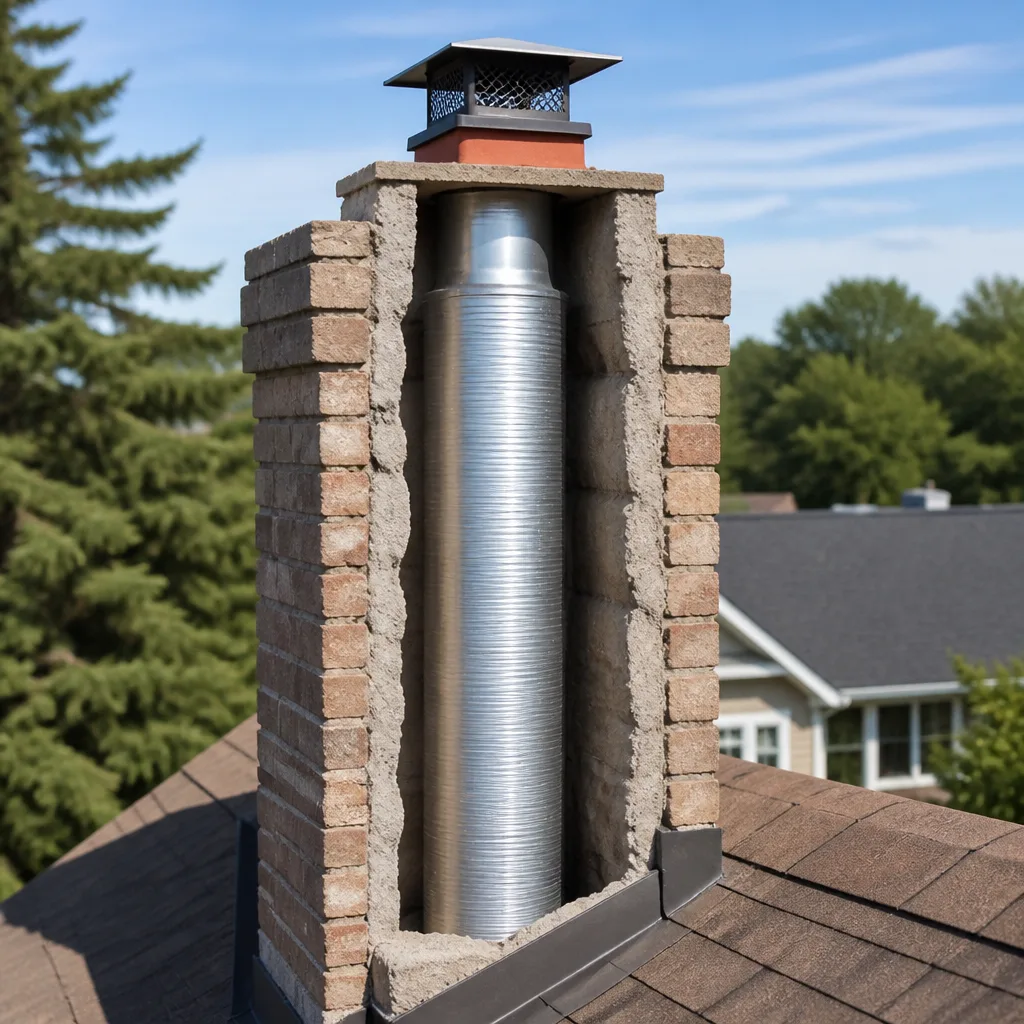 Flue relining
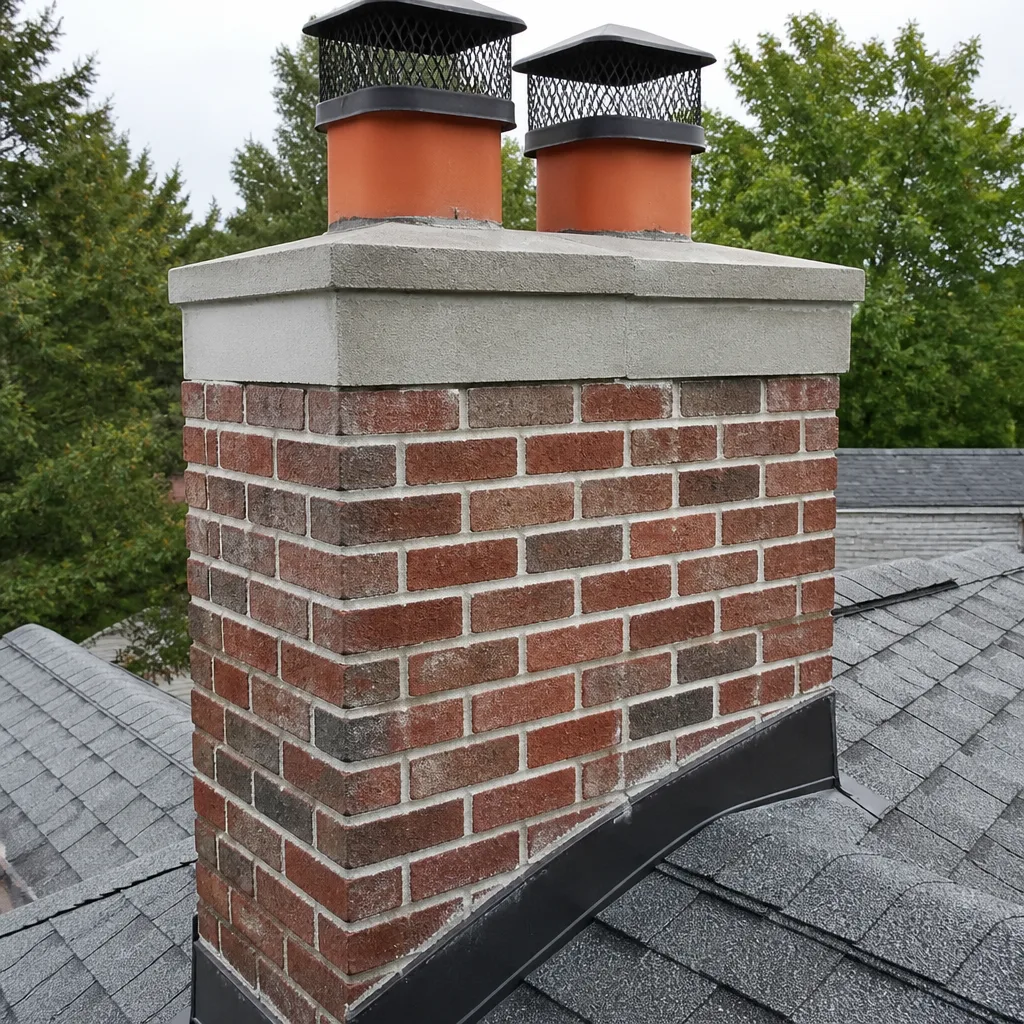 Masonry repair
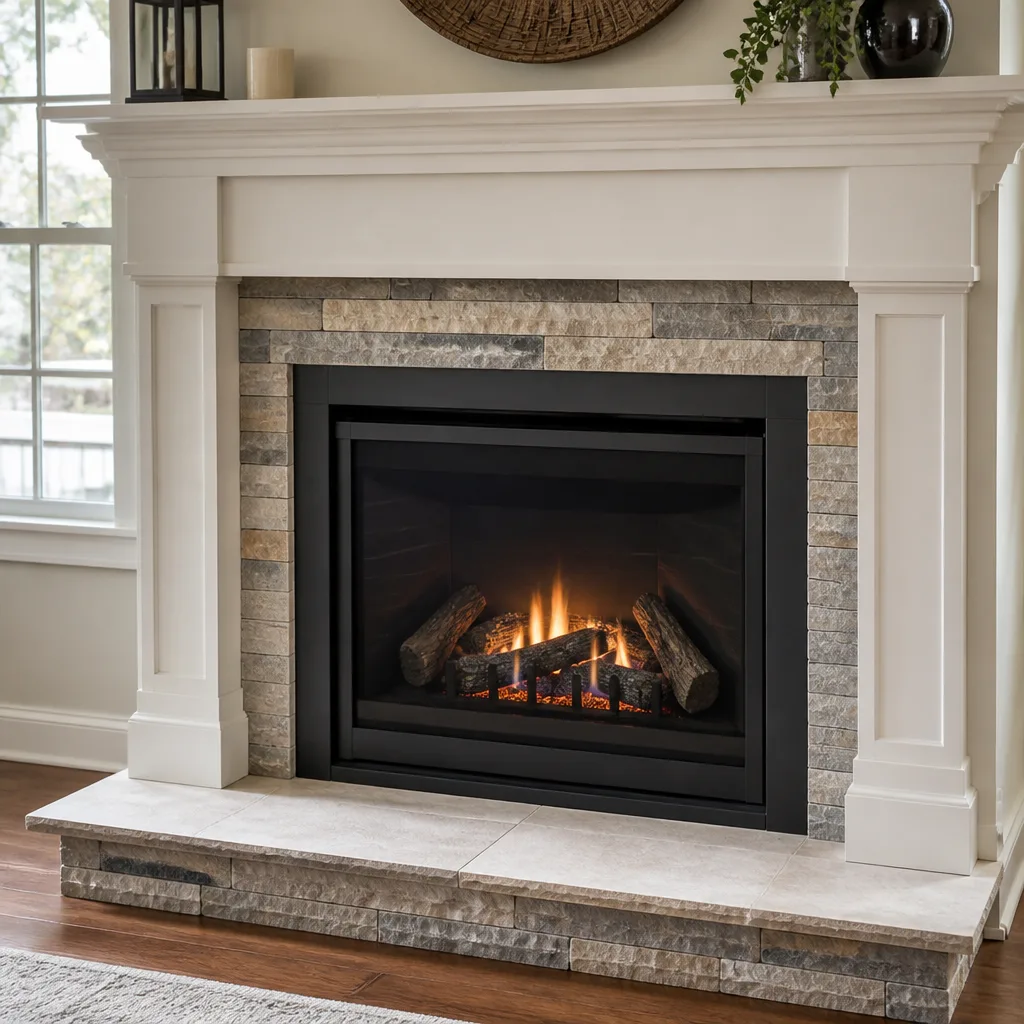 Gas fireplace service
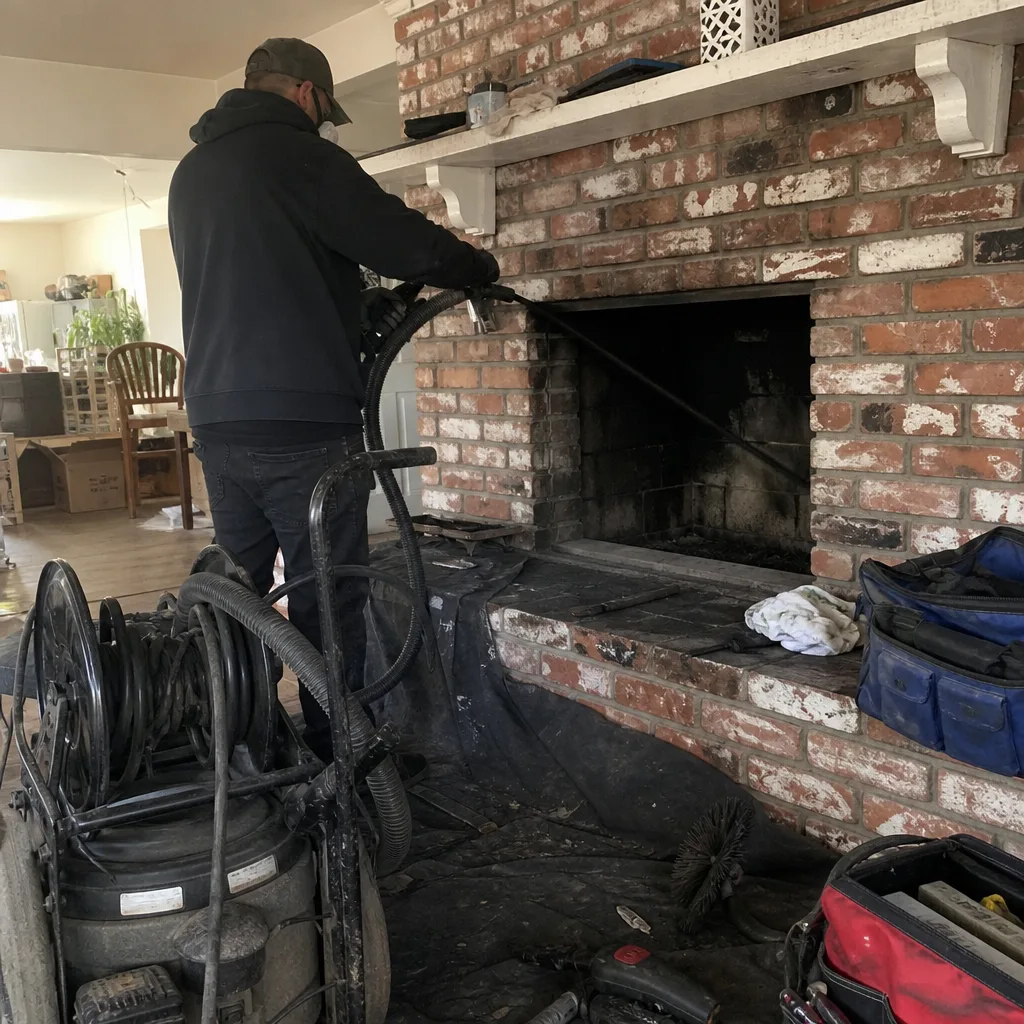
Level 1 sweep and inspection to the NFPA 211 annual standard - flue, crown, cap, and flashing checked and photographed
Chimney sweep logs do not sweep chimneys. They loosen some creosote - which then falls where a brush and vacuum still have to collect it.
Gelco Chimney Cap Installation: The West Covina Owner’s Guide
Gelco chimney cap installation in West Covina typically runs $285 to $540 installed, depending on the cap model, chimney height, and whether the flue tile needs any prep work. We stock Gelco-compatible caps on the truck and can usually complete the swap the same day we’re out. Most West Covina owners discover the problem the same way: they spot rust flakes on the roof near the chimney, or a cap that’s listing to one side after a Santa Ana wind event, or they find a bird in the firebox. The cap looks like a simple metal hat, but when it fails, water gets into the flue and the degradation compounds fast.
If you’re holding a Gelco cap in your hand right now, or you’re looking at one on your roof that’s seen better days, here’s the rest of what you need to know before you spend a dollar.
Which Gelco Models This Applies To
Gelco chimney caps come in standard square and rectangular flue sizes, most commonly 8″x8″, 8″x13″, 13″x13″, and 13″x18″. The model number is usually stamped on the underside of the cap’s skirt or on the mounting bracket. If you can’t find a stamp, measure the outside dimensions of your clay flue tile and add roughly a half inch to each side. A cap that’s too tight will crack the tile when it expands in summer heat. A cap that’s too loose will rattle in wind and eventually work itself off. We see both in West Covina, and the loose one is always the more expensive repair because water has been getting in for months.
We’re an independent service provider here in West Covina, not a Gelco dealer. That matters less than you’d think: Gelco caps use standard stainless steel construction and universal mounting brackets, so we can match an OEM Gelco unit or a quality aftermarket equivalent without changing how the cap mounts or vents. What we watch for is the screen mesh. Gelco uses a heavier gauge mesh than some budget aftermarket brands, which matters because embers that pass through the screen land on your roof. DuraFlex and HeatShield are the other brands we regularly stock for liner and repair work, but for caps specifically, we’ve had good results matching Gelco specs.
Styles & brands we work with
Signs Your Gelco Chimney Cap Installation Is Failing
- Rust streaks down the chimney chase or flue tile. Gelco caps are stainless steel, so if you’re seeing orange streaks, the cap’s been compromised or it wasn’t stainless to begin with. Water getting past the cap and sitting on the flue tile is step one toward spalling (the flaky surface breakdown you see on old concrete).
- The cap sits crooked or shifts with a push. A properly seated Gelco cap doesn’t move. If it does, the mounting bracket has loosened or the flue tile itself is cracked around the fasteners. High winds around the hills above West Covina, especially off the 10 corridor, make loose caps fail faster.
- Birds, squirrels, or bees using the flue as a front door. The mesh on a Gelco cap is there to keep exactly this out. Once an animal’s in, you’re not just dealing with removal, you’re dealing with whatever nesting material got packed down toward the damper.
- Water in the firebox after rain. This is the symptom most people call about. The cap isn’t sealed at the flue-tile joint, or it’s missing entirely. Water in the firebox means water in the smoke shelf, which means a damp, musty smell that creeps into the living room.
- Loud whistling or wind noise down the chimney on breezy days. A missing or improperly sized cap can create a venturi effect that whips air across the flue opening. It’s not just annoying. It means the draft is being disrupted, which can push smoke and carbon monoxide back into the house when the fire’s going.
See the difference
 Before
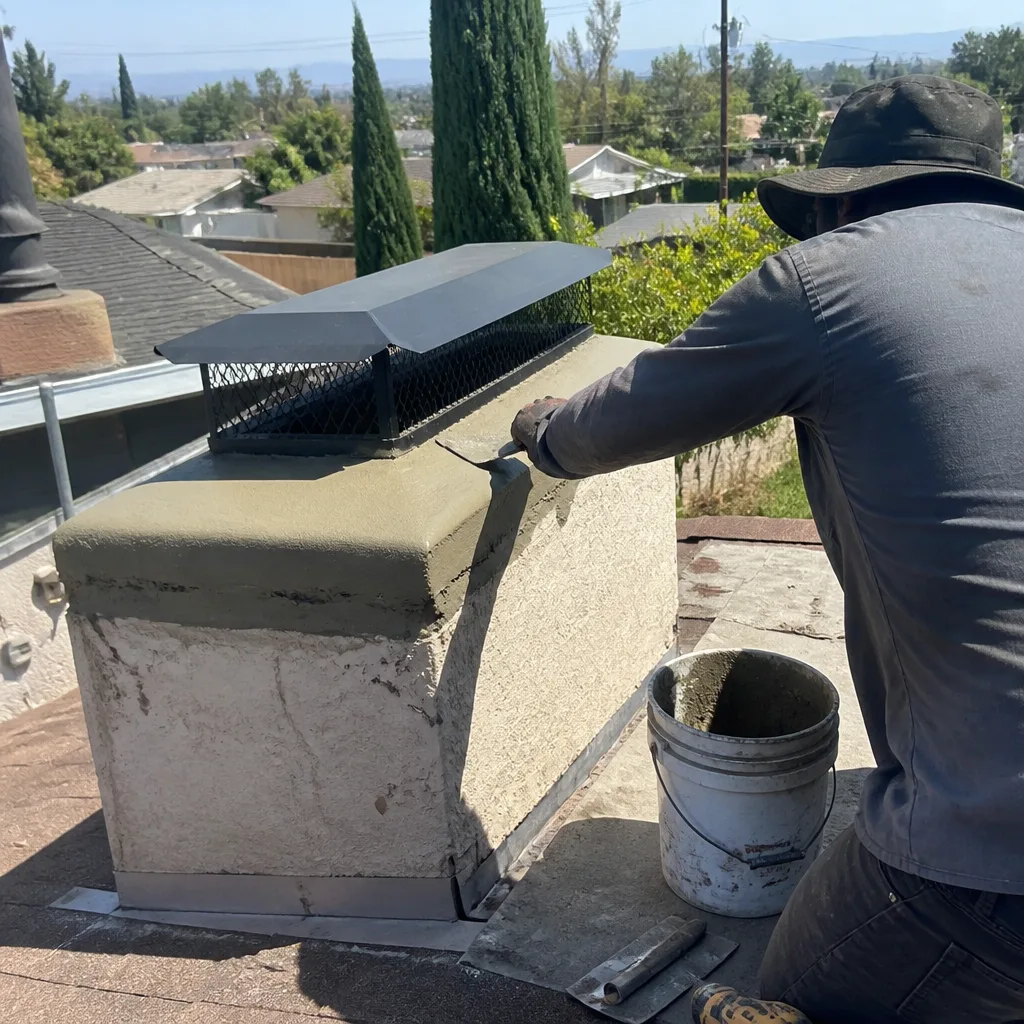 After
After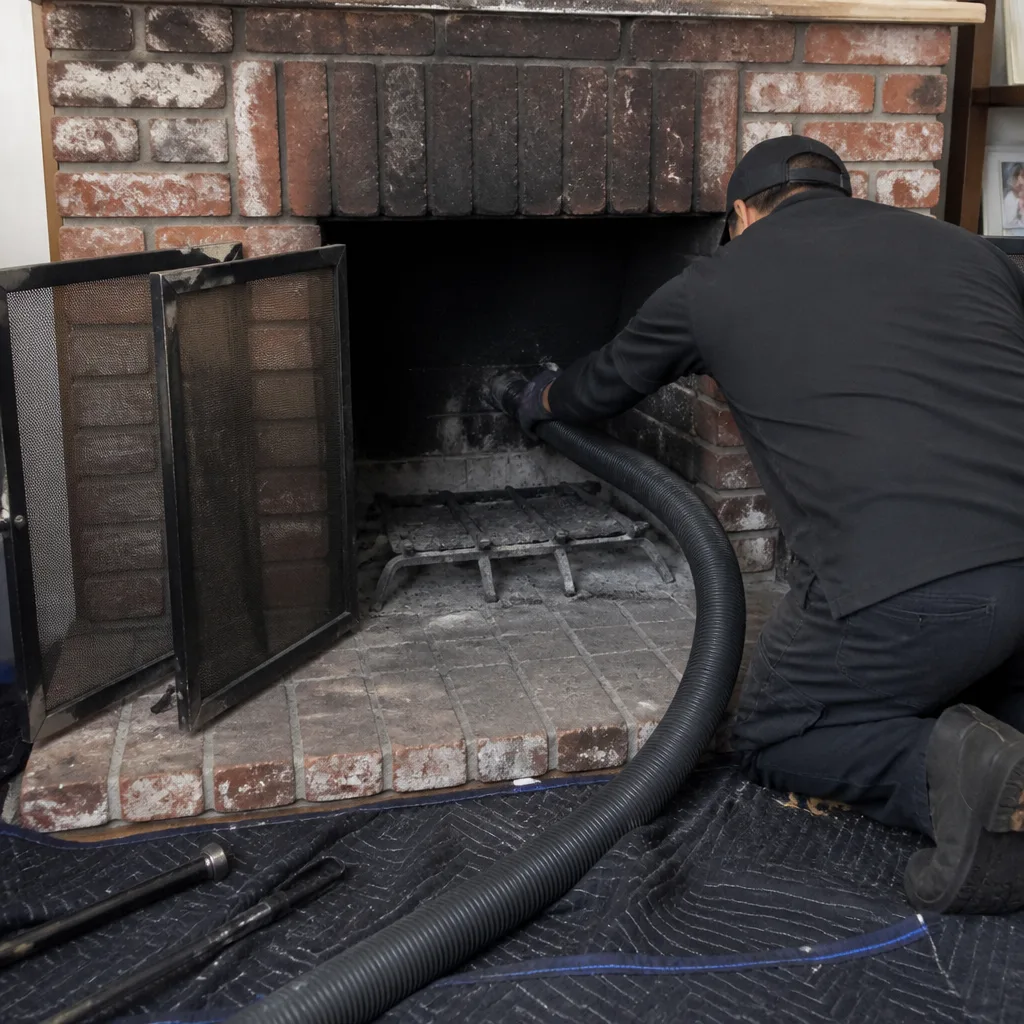 Before
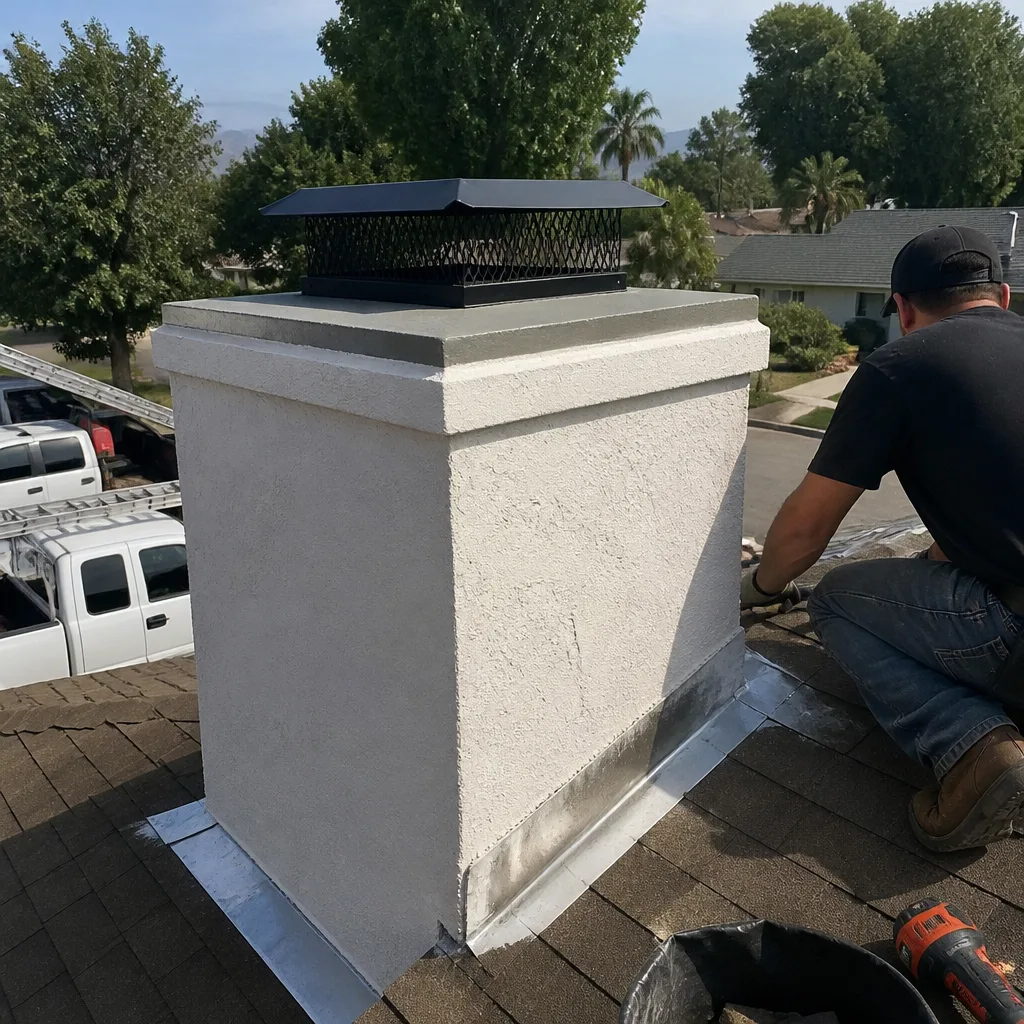 After
After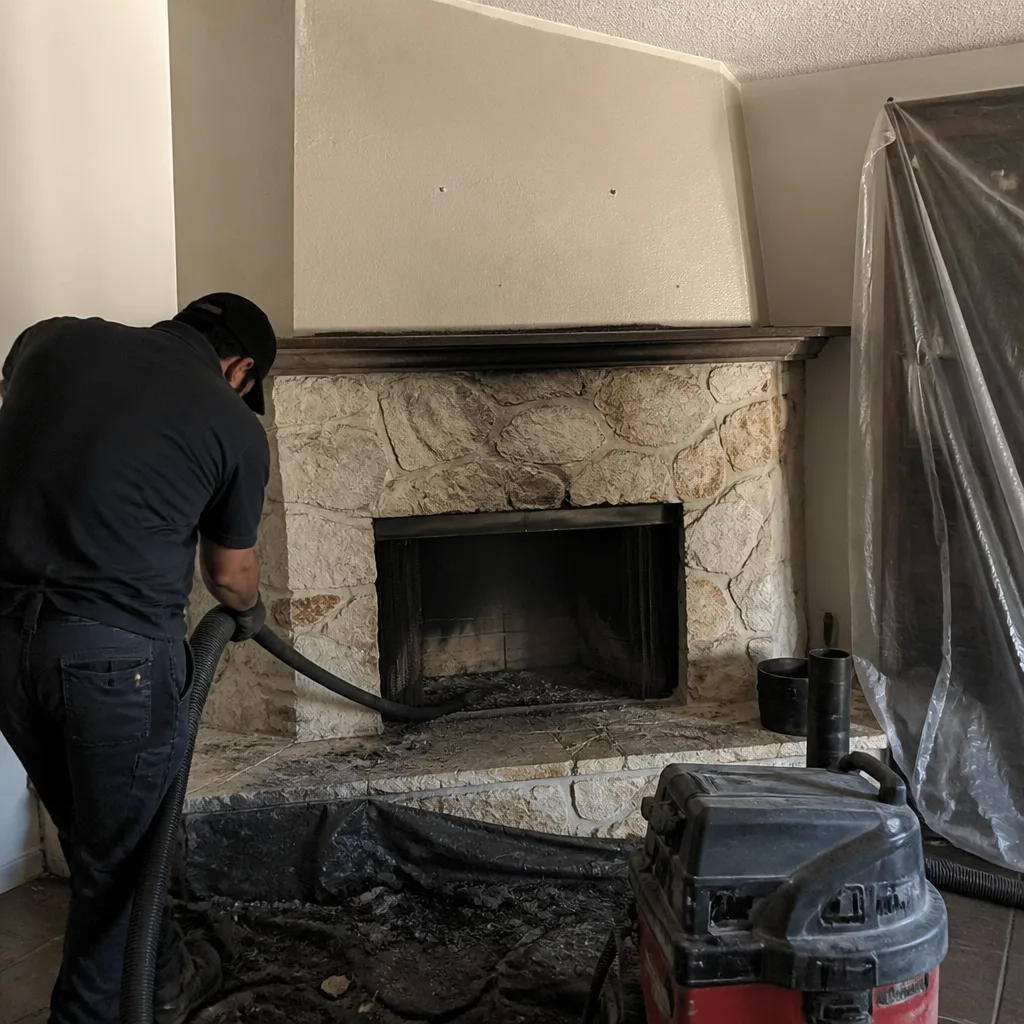 Before
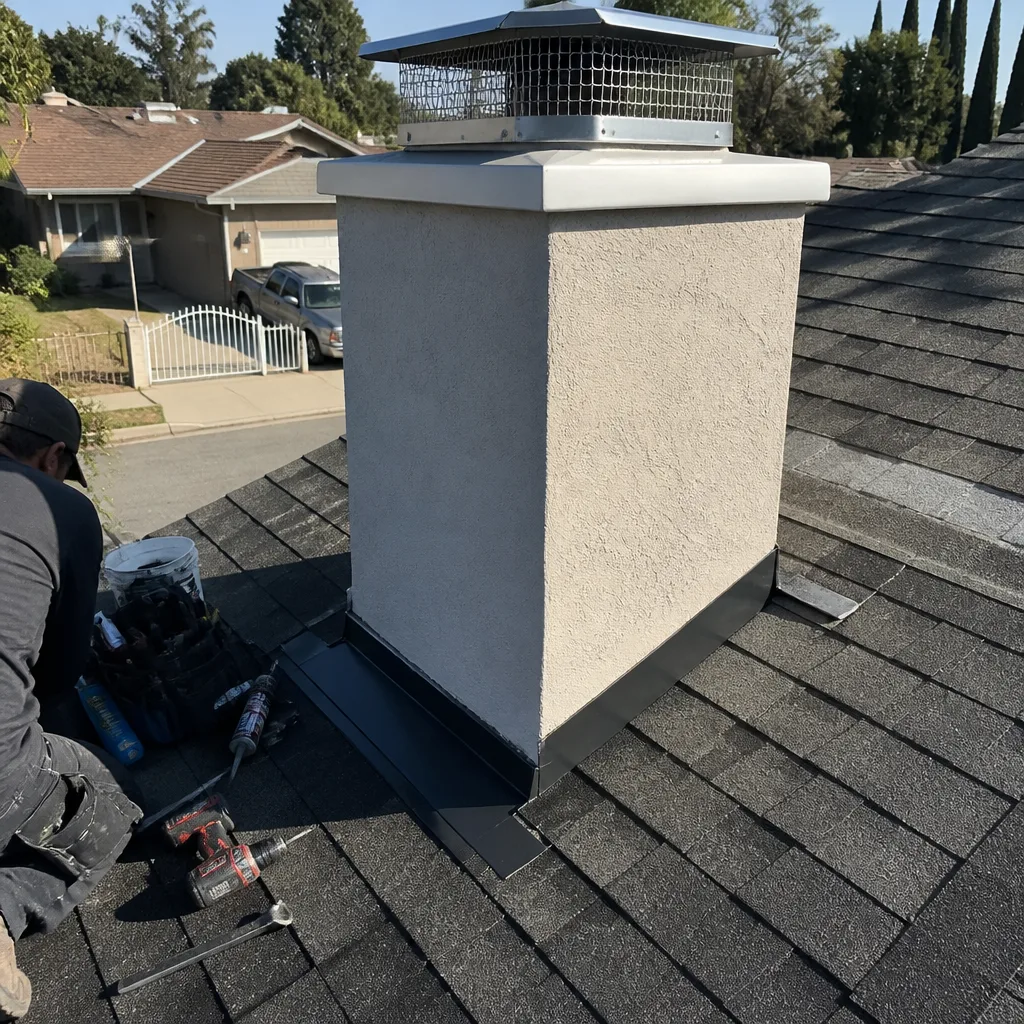 After
AfterReplacement Cost & What’s Included
Here’s what we charge in West Covina, broken out plainly.
- Basic Gelco-compatible cap, single flue, easy roof access: $285 – $365 installed
- Standard Gelco-compatible cap with heavier mesh, two-story roof: $340 – $460 installed
- Taller cap for wind-driven downdraft, custom height, or flue tile repair needed first: $460 – $540 installed
The range is driven by three things: the cap size, the roof pitch and height, and whether the existing flue tile is in good enough shape to mount onto. You’ll get a written price before any work starts, every time. No surprise charges at the door. The new cap itself is included in that number, not added on as a line item afterward. Every installation carries our written guarantee, backed by the 365-Day Done Right Promise: if it’s not done right, we make it right, including a free second visit if the repair fails.
DIY or Call Us?
There’s a real safety line here. If your chimney is a single-story, low-pitch roof and the flue is accessible from a spot where you can stand flat-footed, you can absolutely inspect the cap, take photos, and measure the flue tile. That’s useful, and it helps us quote accurately over the phone. What we’d stop you from doing is getting onto a two-story tile roof in West Covina’s summer heat with a drill and a box of tapcon screws. Tile roofs are unforgiving. One wrong step cracks a tile, and now a $300 cap replacement is a $900 roof repair. Heights plus drill work plus a two-story drop is where DIY stops penciling out. Cory Mitchell, our owner, put himself through the wringer learning this trade at Los Angeles Trade-Technical College, and he’s spent enough years on San Gabriel Valley rooftops to know exactly which jobs a capable homeowner should and shouldn’t attempt. His rule: “I’ll show you the photo first. Then we’ll talk.” If you’re not comfortable on the roof, don’t be on the roof. Call (661) 402-9036 and we’ll handle it.
FAQs
A properly installed Gelco chimney cap typically lasts 12 to 20 years in Southern California’s climate. West Covina’s combination of intense summer UV, winter rain, and Santa Ana wind gusts means the screen mesh usually fails before the stainless steel body does. If you’re near the hills, expect closer to the 12-year end. If your chimney is sheltered by trees, closer to 20.
It depends what’s damaged. Torn screen mesh can sometimes be re-meshed if the frame is solid, but once the stainless steel skirt or mounting bracket is compromised by rust or stress, replacement is the honest call. We’ll tell you which it is and show you the photo. Call (661) 402-9036 and we’ll give you a straight answer over the phone first.
A straightforward swap takes 45 minutes to an hour and a half, including setup and cleanup. If the flue tile needs prep work or we’re fabricating a custom bracket, it can run closer to two hours. You’ll know before we start.
We stock the most common Gelco sizes on the truck: 8″x8″, 8″x13″, 13″x13″, and 13″x18″. If you need a custom size or a taller cap for wind issues, we’ll order it and schedule the install once it arrives, usually within a week. Either way, you’ll get a written price before we touch a bracket.
Water sits in the flue and smoke shelf, which accelerates creosote breakdown, rots the damper, and can eventually compromise the liner. In a wood-burning chimney, that’s a chimney fire risk. In a gas chimney, it’s a carbon monoxide concern if the liner fails. A $300 cap is cheap measured against either. Call (661) 402-9036 for a free estimate, and we’ll show you exactly what’s going on up there.
Written by Cory Mitchell, Owner, Hadley Chimney West Covina at Hadley Chimney West Covina, serving West Covina and nearby areas.